Baking homemade bread is a delightful adventure that creates a sensory experience, transforming simple ingredients into a warm, fluffy, and satisfying loaf. The aroma of freshly baked bread wafting through your home can evoke feelings of comfort and nostalgia, and it’s a process that fosters creativity in the kitchen. For those eager to embark on this journey, the following guidance will help you master the art of baking perfect bread, ensuring both a delicious end product and an enjoyable experience along the way.
Before diving into the actual baking, it’s essential to understand the ingredients that play pivotal roles in the bread-making process. Flour is the backbone of any bread recipe, with wheat flour being the most common choice. The type of flour you select can significantly influence the texture and flavor of your bread. Bread flour, which has a higher protein content than all-purpose flour, is often preferred for its ability to create a stronger gluten structure, resulting in a chewier texture. However, if you have only all-purpose flour available, that will still yield satisfactory results.
Next, yeast is the magical ingredient that helps the bread rise. When activated, yeast consumes the sugars in the dough, producing carbon dioxidea gas that causes the dough to expand. Two common types of yeast are active dry yeast and instant yeast. Active dry yeast generally requires proofing in warm water before being added to ingredients, while instant yeast can be mixed directly into the dry ingredients, making it a convenient choice for many bakers. The choice between these two often comes down to personal preference, as both can yield delightful bread.
Another vital ingredient is water, which hydrates the flour and activates the gluten and yeast. The temperature of the water can also be crucial; water that is too hot can kill the yeast, while water that is too cold may not activate it sufficiently. A good rule of thumb is to use water that is slightly warmer than body temperature, creating an optimal environment for yeast activation.
Sugar is generally added to enhance the flavor and provide additional food for the yeast. It can subtly affect the crust’s color and texture. In some recipes, sugar is necessary not only for flavor but also for moisture retention, leading to a more tender loaf. Salt, while often overlooked, is essential for flavor and is also crucial in regulating yeast activity, ensuring that it doesn’t become overly aggressive during fermentation.
One of the most exciting parts of bread making is the mixing and kneading process. Mixing the ingredients allows for a beautiful amalgamation where flour absorbs the water, and yeast gets integrated. Once mixed, kneading takes over, a technique that helps develop gluten. Kneading is best achieved by pushing the dough down with your palms, folding it over itself, and repeating the process. This should continue until the dough becomes smooth, elastic, and slightly tacky, but not overly sticky. Avoid the temptation to add excessive flour; achieving that perfect texture is key.
After kneading comes the first rise, where the dough is transformed through fermentation. Many bakers allow the dough to rise until it doubles in size, which can take anywhere from an hour to a few hours, depending on the dough’s environment. Warm, draft-free locations work best for yeast activity. Some bakers prefer to let the dough rise in the refrigerator overnight, a technique known as cold fermentation, which enhances the flavor development and can make for a more complex and enjoyable bread.
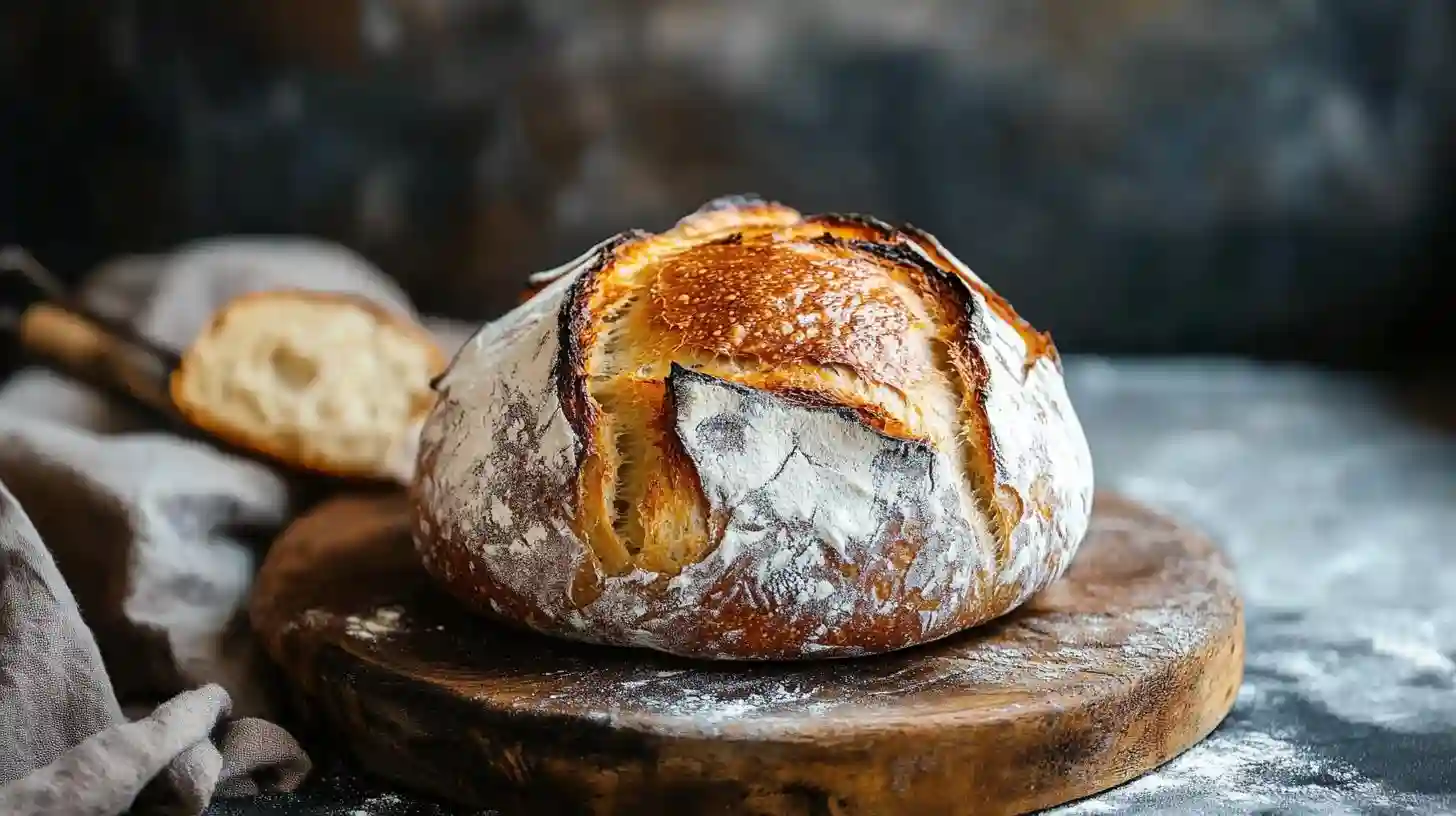
Once the dough has risen satisfactorily, it’s time to shape it. Gently punch down the dough to release excess gas, then turn it out onto a lightly floured surface. Divide it into appropriate portions for the desired loaf sizes if you are making multiple ones. Shaping involves creating surface tension by tucking the dough into itself, forming a cohesive and taut structure that will help the loaf maintain its shape and rise evenly during baking.
The second rise, known as proofing, is just as important as the first. This allows the dough to rest and rise once more before baking, ensuring it remains light and airy. Proofing can take about thirty minutes to an hour. During this time, you can prepare your oven and baking vessel. A preheated oven is crucial to achieving a good oven spring, where the loaf dramatically rises during the initial stages of baking. An oven set to high temperatures produces steam, creating that sought-after crust. Some bakers use a Dutch oven, a cast-iron pot with a lid, to mimic a professional bread oven by trapping steam.
As the dough bakes, the ingredients undergo unique transformations. The starches gelatinize, the proteins solidify, and the sugars caramelize, producing that golden crust and fluffy interior that bread lovers adore. To check for doneness, a thump on the bottom of the bread should produce a hollow sound, indicating that it is fully baked inside.
Letting the bread cool before slicing is often one of the most challenging but essential steps. The cooling process allows the steam to escape, ensuring the interior has set properly and does not become gummy. A commitment to patience here will reward you with a perfect slice when the moment arrives to enjoy your hard work.
Experimentation is a big part of the baking journey. Once you’ve mastered basic bread techniques, you may be inclined to try different ingredients or shapes. Adding herbs, spices, seeds, or cheese can create varied flavor profiles. You might also explore different baking methods, such as making baguettes, focaccia, or sourdough. The opportunities are virtually limitless, and each loaf can become a canvas to showcase your unique culinary preferences.
A few tips may further help you along the way to perfect homemade bread. Keeping a consistent room temperature aids yeast activity, and using a kitchen scale ensures accurate measurements, leading to better results. If you find your dough is too wet or dry during mixing, adjustments can be made gradually to achieve the desired consistency. Documenting your bread-making process through notes can help refine your technique as you analyze what works best for you. Cultivating a habit of observing how the dough responds to each step and adjusting accordingly can program you for success.
Choosing proper storage methods after baking will help keep your bread fresh. Bread often does well wrapped in cloth or paper, allowing it to breathe without getting overly dry. For more extended storage, slicing and freezing can be an excellent alternative, ensuring you can enjoy your homemade creations even weeks later. Toasting frozen slices can create a satisfying experience reminiscent of the fresh-baked goodness.
Embracing the art of bread making can be incredibly rewarding. From the initial kneading to the final aroma infusing your home, each step is a blend of science and artistry. As you learn and master this craft, your confidence in the kitchen will grow, along with your appreciation for the simple yet profound joy of sharing homemade bread with others. They say that baking bread is like love made visible, and every loaf is a testament to the dedication, patience, and creativity that goes into making the perfect homemade bread.