Light painting photography is an enchanting art form that combines creativity, technique, and a touch of magic. Capturing the beauty of light swirling through space creates compelling images that tell a story or evoke feelings. Like any art, mastering light painting requires practice, patience, and a willingness to experiment. This article explores expert tips to dive deep into this fascinating genre and elevate your light painting photography skills.
Equipment selection is one of the most critical aspects of light painting. While any camera capable of long exposure can work, a digital single-lens reflex (DSLR) or a mirrorless camera is ideal. These cameras offer manual settings, allowing for greater control over exposure, aperture, and focus. Additionally, consider investing in a sturdy tripod. Long exposures require stability to prevent camera shake, which can ruin an otherwise stunning shot. A remote shutter release or a camera with a self-timer can also be helpful, allowing you to set the camera without needing to touch it, further reducing the risk of camera movement.
Choosing the right light source is essential for successful light painting. The light source can be anything from LED flashlights and glow sticks to lanterns and fireworks. The key is to select lights that suit your vision and style. LED lights are popular for their brightness and versatility. You can find lights that offer different colors, patterns, and brightness levels, which can create diverse effects in your photographs. On the other hand, softer light sources, like candles, can create a more intimate and dreamy atmosphere. Experimenting with various light sources will enable you to discover unique effects and textures.
Understanding the fundamentals of exposure settings is pivotal when mastering light painting. Light painting typically requires long exposure times, often several seconds or even minutes. This extended exposure allows the camera to capture the movement of light as it paints through the scene. Start by setting your camera to manual mode. Adjust the ISO to a lower value to minimize noise in your images, typically between one hundred and four hundred. Lowering the ISO helps ensure a clean, clear photograph without distracting grain. Next, set the aperture to a mid-range value around f-stop five to eight to achieve a balance between sharpness and depth of field. These settings can vary depending on the scene; practice will guide you in finding the optimal balance.
Focusing is another critical element in achieving sharp images during light painting. There are a couple of techniques you can use to focus effectively. The first method is to pre-focus on an object in the scene before painting. Use a flashlight to illuminate the subject, focus the camera, then switch to manual focus to lock it in. This approach ensures that the camera does not attempt to refocus during the exposure. Alternatively, you can use a small flashlight to shine on the area being painted, allowing the camera to focus during a brief test shot. Whichever method you choose, ensure that your focus is set correctly before starting your light painting.
Planning your light painting session can significantly enhance your results. Before diving into the actual photography, visualize the idea, the shapes, and the colors you want to create. Sketching your ideas can facilitate a clearer understanding of what you want to achieve, enabling you to make strategic decisions about the light sources you'll use and the movements you'll perform during the exposure. The location also plays a significant role; consider spaces that are dark enough to allow for longer exposures without interference from ambient light. Urban settings, parks, or even your backyard can be ideal playgrounds for light painting.
Timing and patience are essential virtues in the realm of light painting. Allow yourself ample time to experiment and try various techniques. Some of the most captivating light paintings arise from spontaneous creativity, but many require meticulous planning and practice. Don’t be disheartened if your first attempts do not turn out as expected. Each unsuccessful shot teaches valuable lessons about light direction, movement, and timing. The joy of light painting often lies in the process; each trial brings unique discoveries and unexpected surprises.
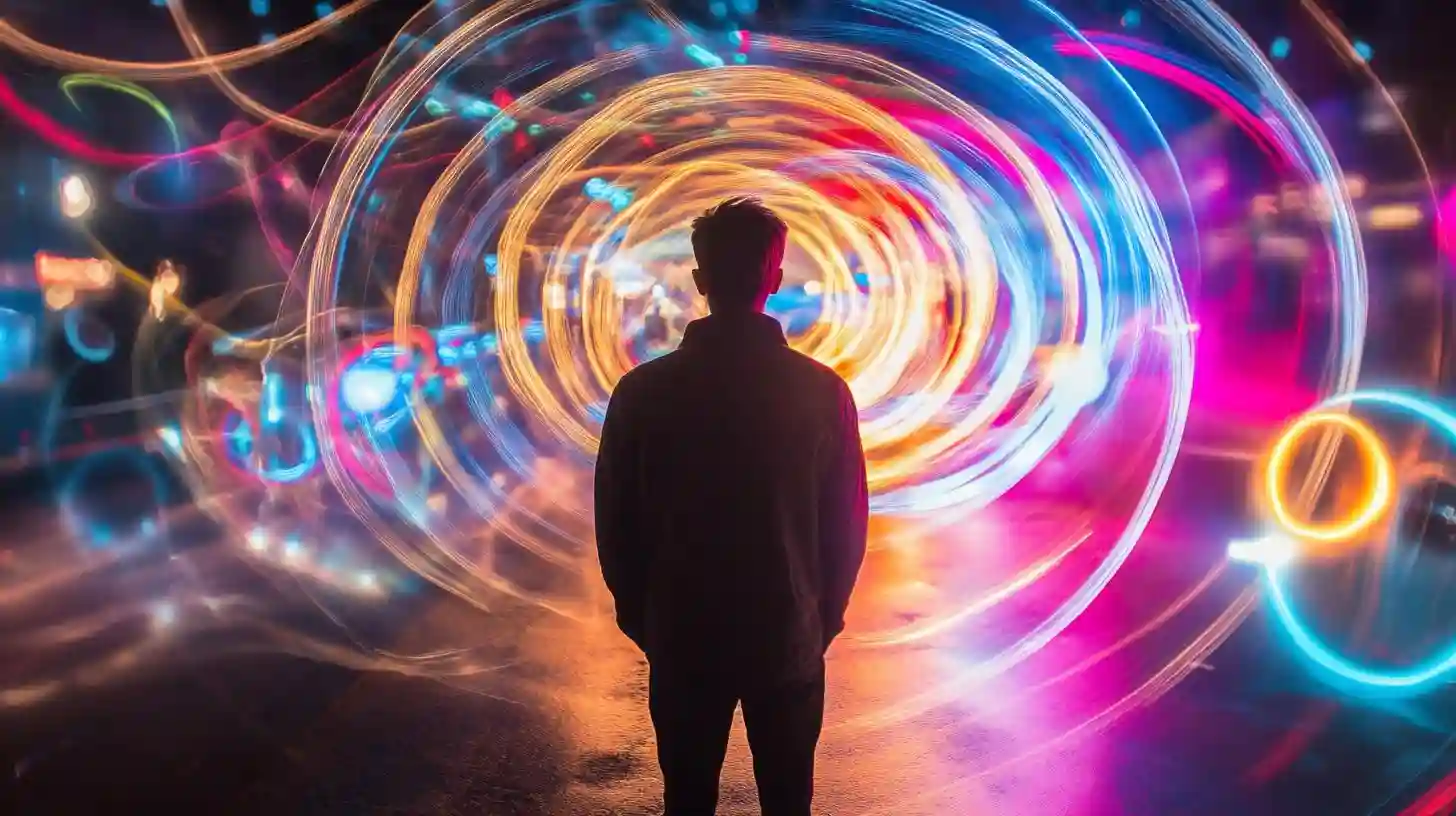
Movement is crucial to the creation of light painting photography. Consider how the light source moves through the frame and how its trajectory impacts the final image. You can create different shapes and designs depending on the speed of your movements. Slow movements can yield delicate and soft patterns, while rapid movements create dynamic and bold strokes. To master your light painting, practice various movement speeds and experiment with different shapes. Twirls, spirals, and zigzags can all produce captivating effects, so don’t hesitate to explore and let your creativity flow.
The colors in your light painting can profoundly affect its mood and visual impact. If you are using multiple light sources, be mindful of how the colors interact. Mixing colors through your movements can produce beautiful gradients and transitions. For a cohesive feel, consider using color gels or filters over your lights to manipulate colors before they reach the camera. This technique allows you to play with color harmony and create compositions that resonate emotionally with viewers.
An essential technique in light painting photography is layering. To create complex and multifaceted images, consider executing multiple exposures. Start by taking a base shot without any light and then gradually add your painted elements in successive exposures. This method allows you to build a scene bit by bit, layering the light to achieve a more intricate and three-dimensional look. However, be cautious; layering requires careful planning to ensure that the elements do not visually clash. Utilize the tripod to maintain consistency between exposures, placing each layer strategically for an enhanced final composition.
Post-processing can also significantly enhance your light painting photographs. Using editing software, you can adjust the exposure, contrast, and color balance to add depth and richness to your images. Cropping can refine the composition, while sharpening tools can enhance details. Be careful not to over-edit; preserving the authenticity of the original shot is essential. Subtle adjustments can elevate your photo, ensuring that the spirit of your light painting is retained while enhancing its visual allure.
Community involvement is invaluable in your light painting journey. Join forums, social media groups, or local photography clubs dedicated to light painting. Engaging with fellow enthusiasts allows you to share experiences, techniques, and inspiration. Critiques from others can help identify strengths and areas for improvement, fostering your growth as a light painting artist. Moreover, participating in collaborative projects can ignite fresh ideas, pushing the boundaries of your creativity and technique.
Mastering light painting photography is a fulfilling journey that intertwines technical skills, creative expression, and experimentation. By understanding the nuances of camera settings, equipment, and movement, while remaining open to exploration and learning, you can create breathtaking images that capture the imagination. Each stroke of light you create tells a story, and through practice and engagement with the community, you can refine your craft and share your unique vision with the world. Embrace the enchanting world of light painting, and prepare to bask in the glow of your artistic endeavors.