Watercolor painting has long been cherished for its ethereal, fluid nature, allowing artists to capture the beauty of landscapes with a unique, soft touch. Creating beautiful landscapes with watercolors requires a combination of technical skill, an understanding of light and color, and a willingness to embrace the unpredictability of the medium. Whether you are an experienced artist or a beginner, mastering the techniques of watercolor can elevate your landscape paintings, bringing them to life with rich depth and vibrant hues.
The foundation of any watercolor landscape begins with the paper. Choosing the right type of watercolor paper is crucial as it absorbs the paint and water, creating the desired effects. A good quality, heavy paper, typically around 300gsm, will hold the water well and prevent buckling. Cold-pressed paper is often favored because of its texture, which provides a more natural, organic feel to your painting. When starting out, it’s important to stretch your paper or tape it down to prevent it from warping as you work with water. Ensuring a smooth, secure surface will give you better control over the paint.
Once you have your materials ready, the next step is preparing your palette. The beauty of watercolors lies in their transparency, so it’s essential to choose colors that will blend well together. When painting landscapes, you’ll often work with a combination of greens, blues, browns, and earth tones. It’s helpful to pre-mix your colors to understand how they behave when combined, ensuring you achieve the desired tones for the sky, trees, or distant mountains. A good practice is to start with light washes and gradually layer the colors, allowing each layer to dry before adding the next. This method, known as glazing, builds depth and dimension in your painting.
The first stage in creating a landscape is to sketch your composition lightly with a pencil. This preliminary sketch doesn’t need to be highly detailed, but it should outline the major elements of the scene. Pay attention to the horizon line, the placement of trees, rocks, or buildings, and the flow of the land. Keep in mind the concept of the foreground, middle ground, and background, as this will help in creating a sense of perspective. Using a light hand with your pencil sketch ensures that the lines won’t be visible once you begin painting.
When it comes to painting the sky, start with a wet-on-wet technique, which allows colors to flow into one another smoothly. Wet-on-wet is an essential watercolor technique where the paper is dampened first, and then paint is applied. This technique is perfect for painting soft, cloudy skies or distant mountains. Begin by adding a light wash of blue or gray to the sky, and then drop in other colors like purples or pinks if you're painting a sunset or sunrise. As you work, allow the colors to blend naturally, creating soft gradients and a sense of atmosphere.
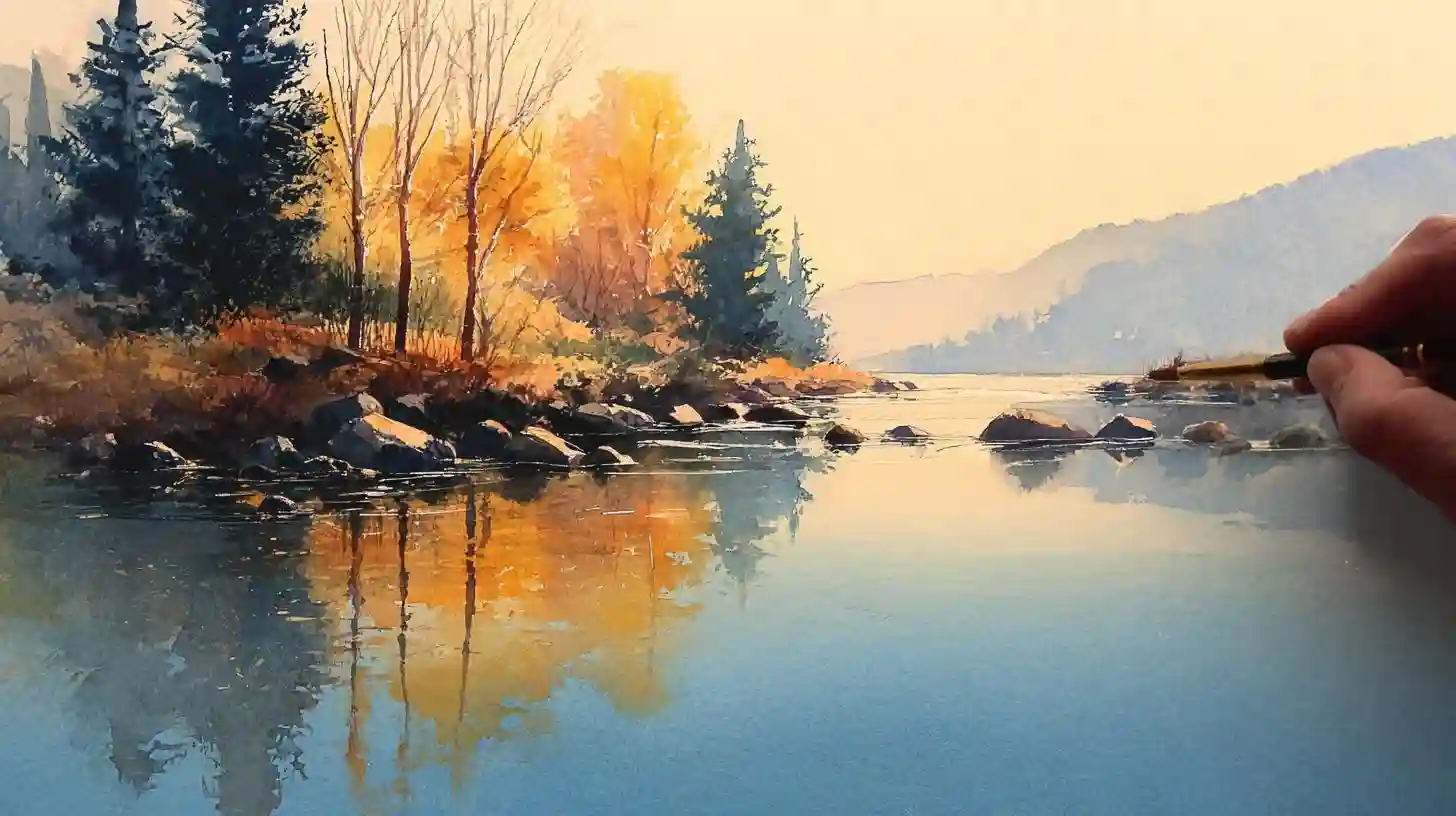
The next step is to tackle the landscape’s middle ground, which typically consists of rolling hills, fields, or water bodies. These areas often require a bit more structure, so it’s essential to use a combination of wet and dry techniques. For grassy fields or meadows, you can use a dry brush technique to create texture. The dry brush technique involves using a brush with minimal water and more pigment, allowing you to create the rough texture of grass or rocks. When painting water, use horizontal strokes to mimic the calm, reflective surface. Watercolor can also be used to create the appearance of movement, such as flowing rivers or gentle waves, by manipulating the amount of water and pigment on your brush.
For the foreground, you will want to add more detail and contrast to create a sense of depth. This area of the painting is where you can add elements like trees, flowers, or larger rocks. The details in the foreground should be sharper and more defined than those in the background to create the illusion of distance. For trees, you can layer washes of green, adding darker shades for the shadows and lighter hues for highlights. The wet-on-dry technique is particularly useful here, where you apply paint to dry paper for crisp, defined lines.
One of the most powerful aspects of watercolor is its ability to capture light and shadow. This is essential in landscape painting, as light dictates how we perceive the world around us. Pay close attention to the light source in your scene, whether it’s sunlight or moonlight, and use it to guide your painting. Shadows can be created by mixing complementary colors, such as purple and yellow, or brown and blue. Watercolors naturally create soft shadows that blend seamlessly into the surrounding areas, but be sure to build these shadows gradually to maintain control over the composition.
As you add more layers to your painting, it’s essential to step back and assess the overall balance of light and dark. Don’t be afraid to lift off paint from the paper with a damp brush or sponge if an area becomes too dark. Watercolors are forgiving in this way, and lifting off paint can help to add highlights, such as the bright tips of grass or sunlit clouds. This technique is known as "lifting" and can be used to create areas of light that contrast with the darker portions of your landscape.
Finally, allow your painting to dry completely before adding any finishing touches. Once the painting is dry, you can refine certain areas, such as the fine details in the trees or rocks, with a smaller brush. You can also enhance the painting by adding splashes of color to indicate distant flowers, birds, or other small elements that bring life to the landscape. Always consider the overall flow and harmony of the piece, adjusting colors and details as needed.
Watercolor landscapes are a beautiful way to express the natural world, and with practice, you can create stunning, atmospheric scenes. Whether you're capturing the calm of a lakeside sunset or the grandeur of distant mountains, mastering watercolor techniques will allow you to bring your vision to life with the unique transparency and flow that only this medium can offer.