Creating a mural can be an incredible way to express creativity, transform a space, and leave a lasting impact. Whether you're an experienced artist or a beginner eager to dive into mural painting, there are several key principles and techniques that can help you achieve a stunning result. The first thing to remember when embarking on a mural project is to fully plan your design. Think about the message or theme you want your mural to convey. This could be anything from abstract patterns to realistic representations, historical figures, or nature scenes. Before you start, make sure you have a clear vision of what you want to achieve. It is helpful to sketch out the design on paper or digitally, allowing you to work out the composition, color scheme, and any details that will be part of the finished mural.
Once the design is finalized, the next important step is preparing the surface. Murals can be painted on various surfaces, such as walls, ceilings, or even outdoor structures like fences. The surface must be clean, smooth, and free of any debris, dirt, or old paint that might prevent the new paint from adhering properly. For exterior murals, weatherproofing is crucial to ensure the longevity of the artwork. Begin by washing the surface thoroughly and repairing any cracks or imperfections with a filler. If the surface is particularly porous, priming it will create a smooth base for the paint to adhere to, ensuring better coverage and durability.
When it comes to selecting the right materials, paint type is one of the most important considerations. Acrylic paint is a popular choice for muralists because it is durable, versatile, and easy to work with. It dries quickly, is weather-resistant, and can be mixed to achieve a wide range of colors. For outdoor murals, it's essential to use outdoor-grade paint that can withstand UV rays, rain, and temperature changes. Depending on the scale of the mural, you may need to invest in brushes, rollers, and spray equipment, as well as other tools like scaffolding or ladders to reach higher areas.
After gathering all the necessary materials and tools, it’s time to transfer your design onto the wall. One common technique is the grid method, where you divide your sketch into smaller sections using a grid and then replicate the sections on the wall in corresponding sizes. This method allows you to maintain accurate proportions and prevent distortion. Alternatively, you could use a projector to project the design onto the wall and trace it. Both methods have their advantages, but the grid method tends to be more accurate for detailed work, while the projector method can speed up the process for larger murals.
Once your design is transferred onto the surface, it’s time to begin painting. Start with the background and larger elements before working your way to finer details. This allows you to build layers and create depth in your mural. Layering is essential for creating a dynamic, visually interesting piece, as it enables you to add shadows, highlights, and texture that will give the mural a more realistic or polished appearance. Be patient, and don’t rush the process; each layer of paint needs time to dry before you can add another. This will help avoid smudging or mixing of colors.
One important aspect to remember is color mixing. Colors can appear differently depending on the light, surface, and the type of paint you’re using, so always test your color choices before applying them in large areas. When mixing colors, start with the primary colors and experiment with different combinations to create the exact shades you want. If you’re working on a large-scale mural, using a consistent color palette will help tie the entire piece together and give it a cohesive feel.
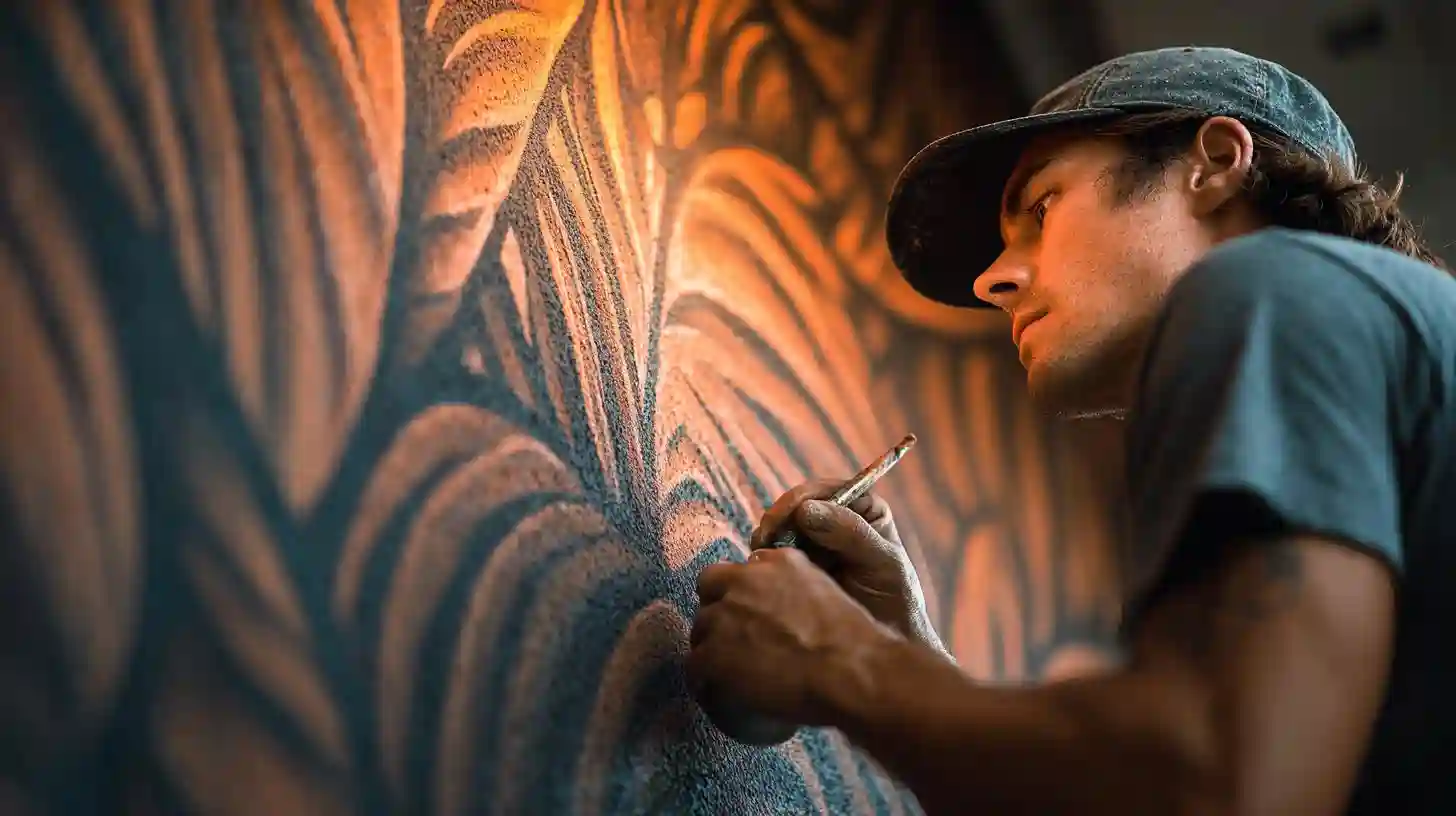
Detailing is where the mural comes to life. After the larger elements are painted, it’s time to focus on fine lines, textures, and small details that add richness and complexity to your work. This could include things like shading, highlights, intricate patterns, and highlights that reflect the light in a way that creates the illusion of depth. For these tasks, finer brushes or even a small sponge can be helpful. Don’t be afraid to layer these details gradually to get the desired effect.
Once the mural is complete, it’s essential to seal it to ensure its longevity. This is especially true for outdoor murals, which are exposed to the elements. Applying a clear protective coat will help shield the mural from rain, dust, and UV damage. For interior murals, a clear finish can protect the surface from wear and tear over time. There are various types of sealants, such as matte, satin, and gloss finishes, each providing a different sheen that can enhance the visual appeal of the mural.
Finally, the environment around the mural should be taken into account. Proper lighting can highlight the beauty of your mural and make it a focal point in the space. Whether it's natural light or artificial lighting, positioning the light source in a way that illuminates the mural can create dramatic effects, such as casting shadows or adding a glow to certain elements.
Creating a mural is a process that requires patience, skill, and creativity. By following these steps and focusing on preparation, material selection, technique, and finishing touches, you can paint a mural that is not only visually stunning but also a true work of art that captures the attention and admiration of anyone who views it.