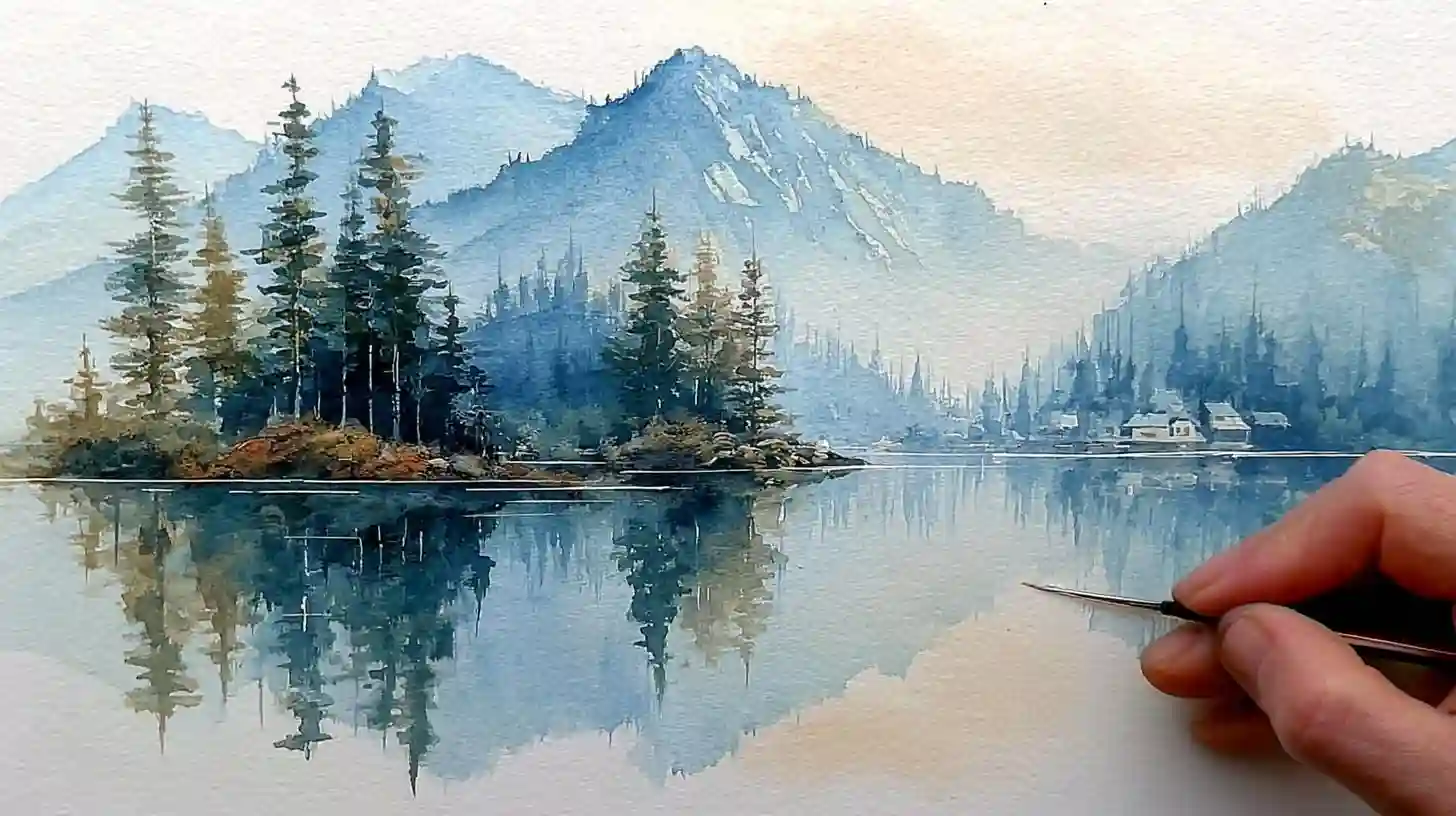
Watercolor landscape painting is a beautiful and expressive medium that allows artists to capture the beauty of nature with fluidity and lightness. If you're looking to master this technique, it's essential to follow a simple yet effective approach that guides you through the process. One of the most important steps in watercolor painting is preparation. Begin by selecting your reference image, which can be a photograph of a landscape you love or a scene you have experienced personally. The key is to choose a subject that speaks to you, whether it is a mountain range, a tranquil lake, or a sunlit field. Once you have your reference, it’s time to gather your materials. Choose high-quality watercolor paper, as it will help with the flow and blending of the paint. The paper should have a weight of at least 300 gsm to ensure it can absorb the water without warping. Watercolor paints come in various forms, including tubes and pans. The choice between them depends on personal preference, though both can achieve stunning results. Lastly, make sure you have a selection of brushes that can handle both fine details and broad washes.
The next stage is sketching your composition lightly with a pencil. It’s vital to plan your painting by outlining the major elements of the scene. Focus on the basic shapes and avoid getting too caught up in the intricate details at this point. This preliminary sketch will serve as a guide for your painting, so it doesn’t need to be perfect. For example, if you're painting a mountain scene, sketch the outlines of the peaks and the general shape of the foreground elements like trees or rivers. The goal is to create a simple framework that will help guide the flow of watercolor across the paper.
Once your composition is sketched, you’re ready to start with the first wash, which sets the tone for the entire piece. Start with the lightest colors and apply them in broad, even strokes. In landscape painting, it’s common to begin with the sky or the distant background elements, as these are typically the lightest and least detailed areas of the painting. Watercolor is all about layering, and this initial wash creates the foundation for later layers of color. As you apply the wash, work with the wet-in-wet technique by adding water to your brush and allowing the pigment to spread out naturally, creating soft edges and gradients. This step is crucial for establishing the atmosphere of your landscape, whether it’s a misty morning or a bright, sunny day.
After the first wash has dried, it’s time to build up the middle and foreground details. Start adding more vibrant colors and begin to define shapes such as trees, rocks, or water bodies. This step involves working from light to dark, so remember to leave the light areas untouched for now. Use smaller brushes to add texture and fine details, such as individual leaves on trees, ripples on water, or the rough texture of a mountain. At this stage, don’t worry about making everything look perfect; the beauty of watercolor lies in its spontaneous and fluid nature. Let the paint move across the paper, responding to the water you’ve applied and the natural textures you’re trying to create. It’s also essential to keep in mind the direction of light in your painting, as this will help guide your shading and enhance the sense of depth.
Once the middle and foreground details are established, take a step back and evaluate the painting as a whole. You may notice areas that need more depth or contrast, which can be achieved by adding darker colors. You can also enhance certain elements of the scene by deepening shadows or refining the edges where light and dark meet. At this point, layering becomes more about contrast and texture rather than filling in large areas of color. It’s helpful to use a more concentrated pigment for these final touches. Focus on the elements that will make the painting feel alive, like the highlights on leaves, the shimmering reflection of light on water, or the contrasting shadows on rocky surfaces. This stage is where the landscape starts to come together and take on a more three-dimensional quality.
Finally, once the painting is complete, allow it to dry thoroughly before making any final adjustments. This gives you time to step away and look at the painting with fresh eyes, making it easier to identify areas that might need a little extra touch. The drying process also ensures that the colors have settled and that the layers are properly integrated. At this stage, you can add any additional details or fix any areas that might need more contrast or refinement. Many artists find that leaving the painting for a day or two before making these final adjustments helps them see things that were not initially obvious.
By following these basic steps—preparing your materials, sketching your composition, applying washes, building up details, and making final adjustments—you’ll be well on your way to mastering the art of watercolor landscape painting. The key is to practice and be patient with yourself as you explore the endless possibilities of this beautiful medium. With time, you’ll develop your unique style and learn how to interpret landscapes in your way, capturing their beauty in soft, flowing washes of color.