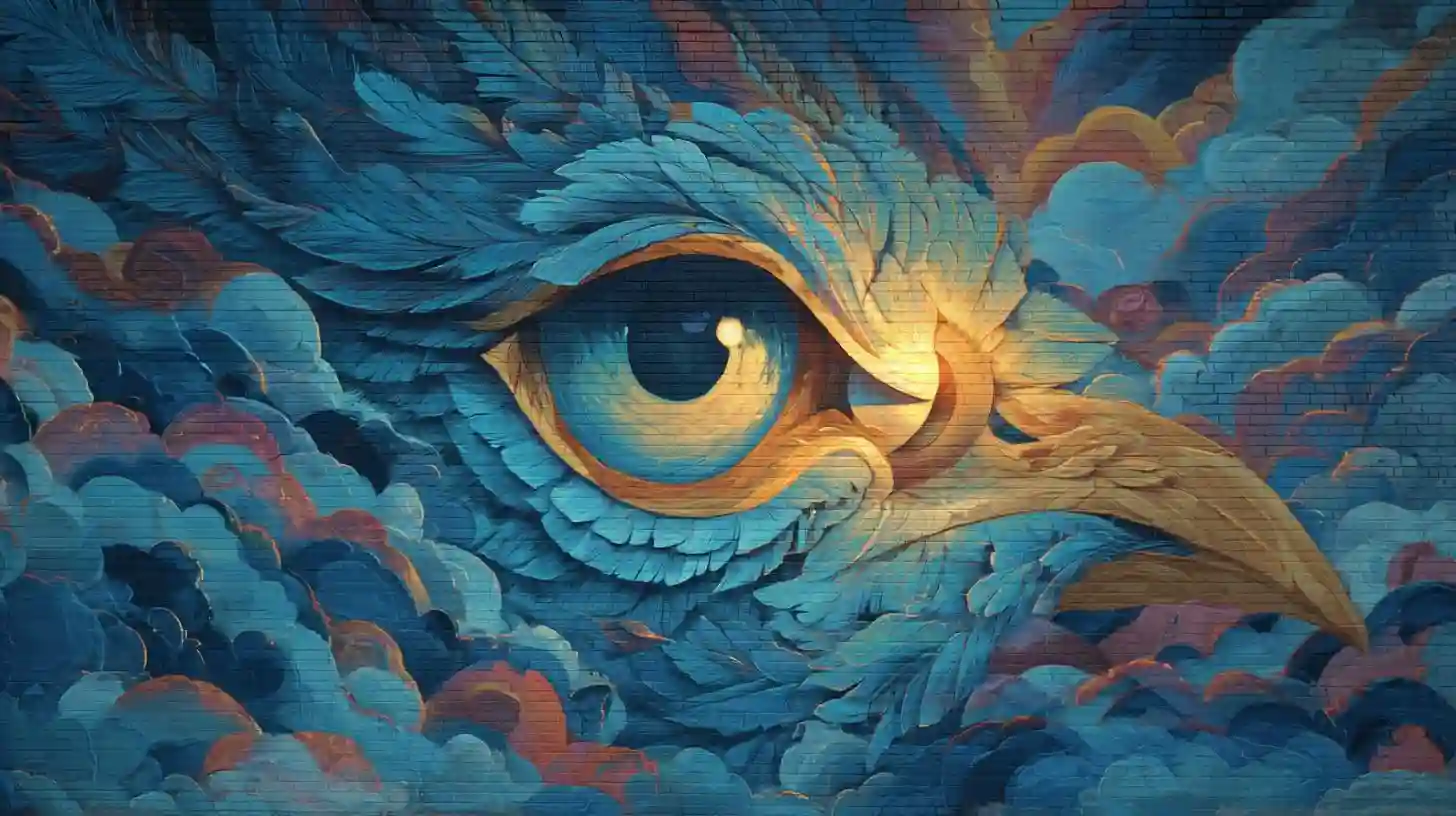
Creating a stunning mural is a powerful way to express creativity and transform any space, whether it’s for a public wall, a private interior, or an outdoor installation. The process of painting a mural requires more than just artistic skill; it demands careful planning, an understanding of materials, and a great deal of patience. With the right preparation and techniques, anyone can embark on the journey to bring a vibrant mural to life.
One of the first steps in mural creation is selecting the right surface. The wall or area you choose must be suitable for painting. A smooth surface is ideal, but even rough walls can be worked with if you use the correct priming and preparation techniques. For outdoor murals, weather conditions are a critical factor, as the surface must be able to withstand sun, rain, and other environmental factors. In contrast, indoor murals have fewer constraints, but considerations like lighting and space dimensions still play an essential role.
Once you've chosen the surface, it’s time to think about your design. Planning is the key to success in mural creation. Sketching your ideas on paper is a great way to explore different concepts. At this stage, it is crucial to consider the purpose of the mural and the message you want to convey. Is it a public artwork meant to spark thought or conversation? Or is it a personal piece meant to complement a specific room’s aesthetic? Keeping the space and its surroundings in mind will help you develop a design that feels harmonious and balanced.
Once the design is settled, it's time to transfer it to the wall. Depending on the size of the mural, you can either freehand the design directly onto the wall or use techniques like the grid method. For larger murals, projecting the design onto the wall with a projector can help ensure accuracy. The grid method involves drawing a grid over your design on paper and then transferring it to the wall by drawing corresponding grids in the same proportions. This method is especially useful for murals with intricate details or a lot of elements that need precise placement.
Preparation of the wall is another important step. Before you start painting, make sure the surface is clean and smooth. Remove any dirt, grease, or previous paint that might interfere with adhesion. Applying a primer is a good way to create an even surface, especially if you're working with a porous wall. The primer helps paint stick better and ensures more vibrant, long-lasting results. It also prevents the wall from absorbing too much paint and allows you to apply colors more evenly.
Now that the surface is prepped, it's time to select the right paints. For indoor murals, acrylic paint is typically the best choice due to its quick drying time and wide range of colors. Acrylics are also durable, making them an excellent option for long-lasting murals. For outdoor murals, it's crucial to use exterior-grade paints designed to withstand the elements. These paints are made to be weather-resistant and more durable, ensuring that the mural will endure the harsh outdoor conditions over time.
Painting the mural is often the most rewarding part of the process. Begin with the larger areas first, blocking in the basic shapes and colors. This gives you a solid foundation to build upon. Once the background or larger elements are painted, start adding smaller details, layering colors to create depth and dimension. Don’t be afraid to experiment with techniques such as blending or glazing to add texture and visual interest to your mural. These techniques can help you create a sense of movement or light in your piece.
As you work, remember to take breaks. Mural painting can be physically demanding, especially when working on large surfaces or high areas. Stepping back and looking at your mural from a distance helps you see the overall effect and ensures you're staying true to your vision. Keep a consistent pace, and be patient. Sometimes, murals take time to develop fully, and rushing can lead to mistakes that might be hard to correct later.
Once the mural is complete, it’s time to finish with a protective coating. This is especially important for outdoor murals, as the paint will be exposed to the elements. Applying a clear acrylic sealer will protect the surface, enhance the vibrancy of the colors, and help the mural last for years. Make sure to choose a finish that suits the style of the mural; for example, a matte finish may work better for more subdued artworks, while a glossy finish may make bold colors pop even more.
Lastly, after all the hard work, take the time to admire your creation. Whether it's in a public space or your own home, a mural is a celebration of artistic expression and creativity. It is not just a decoration but a piece of art that tells a story and creates an emotional connection with viewers. The impact of a well-executed mural is far-reaching, inspiring those who see it to reflect, feel, and perhaps even create something of their own.
Creating a mural is an exciting project that brings a sense of accomplishment and personal satisfaction. With the right planning, techniques, and perseverance, anyone can create a masterpiece that stands the test of time. The process may take patience and effort, but the results are well worth it.